We may earn money or products from the companies mentioned in this post.

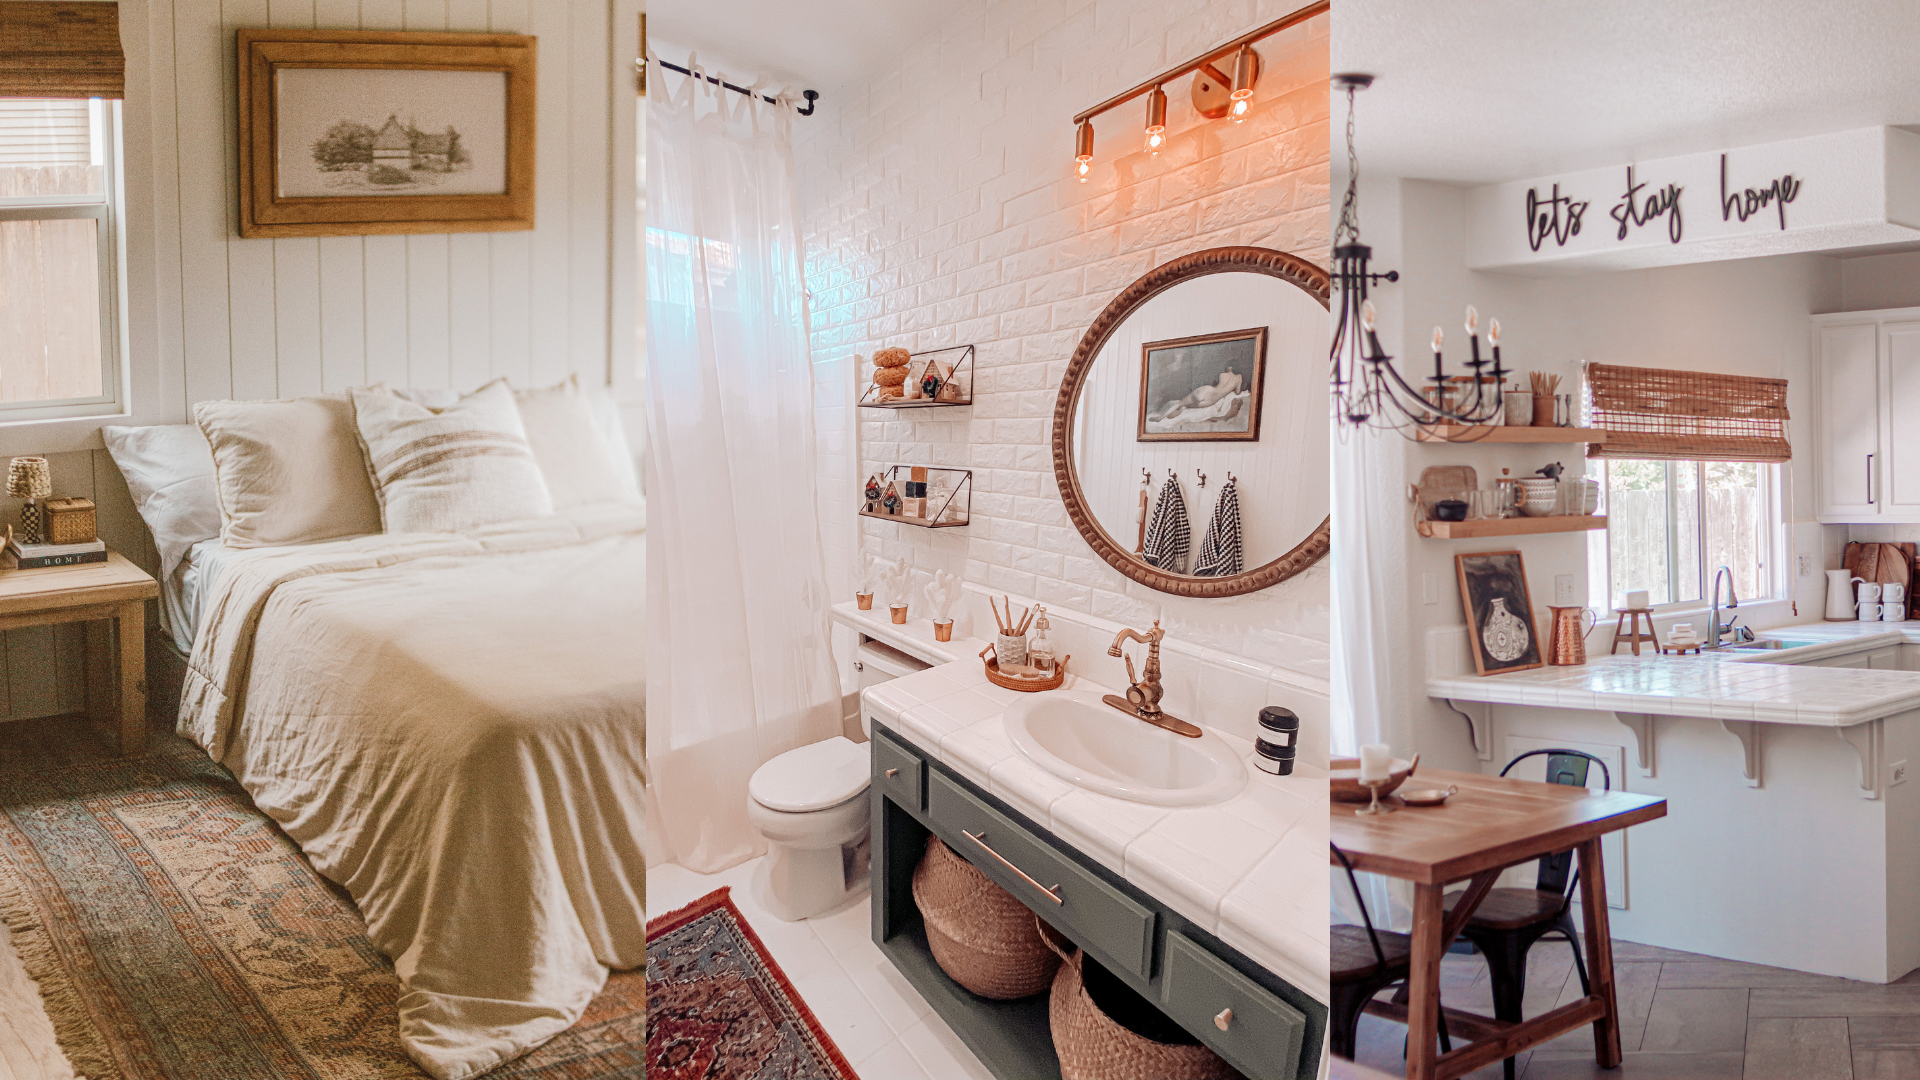
This post is inspired by Zoe at Crafted by the Hunts. I did mine slightly different-but the same concept! I waited over 6 months to write this post because I wanted to make sure these would hold up…and they have!!! I decided on doing a very basic white without any pattern because I had already bought that rug and I knew a pattern would probably clash (and I really didn’t want to buy a new rug haha). Also, if you know me then you know I am all about making life/projects as easy as can be. My thought process is always: “would someone feel intimidated by this or inspired to start today?” This may change as I learn to do different projects but I promise to share what I learn! At the end of the post I will attach a video that shows the process.
Supplies linked here:
1/4 inch nap smooth surfaces roller
6 inch foam rollers (buy the pack)
paint brushes- any kind!
Behr Concrete & Masonry Bonding Primer-Clear
Valspar Porch, Floor & Patio Latex Paint (you can do custom colors with this). You can also use Behr Premium Low-lustre enamel porch and patio paint but home depot was out and Lowes had the valspar one.
Water based polyurethane (I used matte but you can use glossy if you like a sheen) OR Water based polycrylic (side note: I used the polyurethane and had no issues with it with THIS paint, however, polyurethane can turn *some* white paints yellow. Polycrylic is less likely to yellow.
I wish I took more photos but I mainly took videos of the process (which you can see at the end of the post). I am going to make this short and sweet because it truly is a very easy project.

Step 1: Clean your floors with krud kutter and then do a light quick sand on the entire floor. Vacuum any debris and wipe it down one more time with krud kutter. Tape off any areas you don’t want paint on!
Step 2: Using your 1/4 nap roller, apply the bonding primer all over the floor. This doesn’t have to be even, look pretty or perfect. Just roll it on there. It WILL look bubbly and funky-thats OK. It will all even out. The instructions will tell you how long you have to wait before painting (I forgot and I’m too lazy to go check the paint can hehe. kids are in bed, i’ve got wine in hand and netlix on…i’m staying put lol)
Step 3: Paint the floors using your porch and patio paint! Brush the grout lines with your brush as you go and then roll on some paint; light coats! This took me about 4 coats. Follow the instructions on how long to wait between each coat.
Step 4: Seal it! I would for sure recommend 4 coats of sealer-or more if you have time! I prefer the matte because I like the look but you can do glossy. Just be sure to use a roller and do very light coats of the glossy one because you may notice brush marks a bit more.
That is it! Be careful on the floors for a few weeks while they cure! Happy to answer any questions over on my instagram!

